
When doing scheduled maintenance, troubleshooting, or modifying your process, it’s important to know how to safely and quickly take your plate heat exchanger (PHE) apart and put it back together again. While the manufacturer’s word is always the bottom line on this subject, here are some simple guidelines that apply to nearly all PHE’s.
Step 1: Loosen and Remove Bolts

Start disassembly by loosening and removing all the bolts except for the circled ones above. Then, loosen the circled bolts in increments of about half an inch until they’re loose enough to be removed safely. Make sure to loosen them in the indicated order to avoid stressing any of the components.
If you’re using a clean-in-place (CIP) process, or simply inspecting the plates for fouling, then you can easily access the plates without removing them – simply slide them along the guide bar for better visibility. If you do need to remove the plates, though, read on!
Step 2: Remove Plates
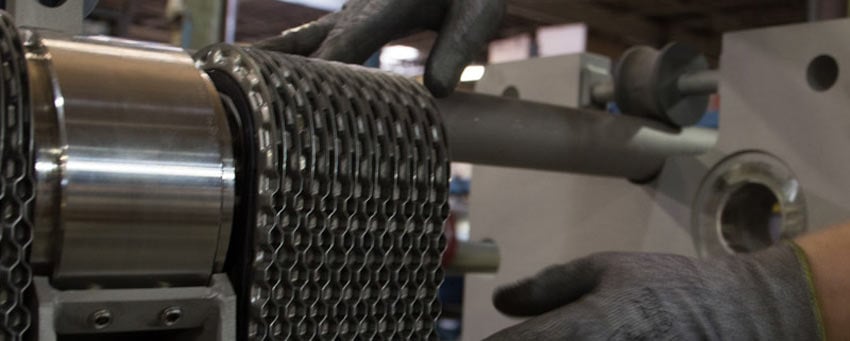
Safety reminder: ALWAYS wear gloves when handling plates, as the edges are sharp and can cut your hands, even if you are very careful.
The movable frame (the back frame) can be slid back to the support column along the guide bar, exposing the plates. Remove the plates one at a time by sliding them back to the movable frame, removing the hangar and tilting the plate off of the guide bar. Be careful not to bend the plates when removing them, or they won’t be able to form a proper seal and your PHE will leak.
In some plate heat exchanger designs (particularly small ones), the plates aren’t supported by hangers. Rather, the lower guide bar is simply shortened, and the plates are removed by sliding them back until they drop off. In other designs, there is a ridge on the upper guide bar that holds the plates up, and plates are removed by simply sliding them off the ridge. PHE designs vary, and if yours has a design not mentioned in this article, call your manufacturer before trying to disassemble it – better safe than sorry.
Step 3: Reassembly
While this may seem like common sense, it’s very important to reassemble your plate heat exchanger exactly the reverse of how you disassembled it – otherwise, your plates can easily get bent. Again, if you ever feel unsure about what you’re doing, stop and call your manufacturer.

More Resources
If you’re reading this article because your plate heat exchanger has failed, you may find these articles helpful:
- How to Troubleshoot a Plate Heat Exchanger
- Good Maintenance Habits for Plate Heat Exchangers
- How to Identify a Differential Leak
If you’re not sure what type of heat exchanger is the right product for you, take a look at our Overview of Plate Heat Exchanger Technology.
Lastly, if you liked this article or found it helpful, please leave feedback or questions on social media.
