
2 minute read or watch
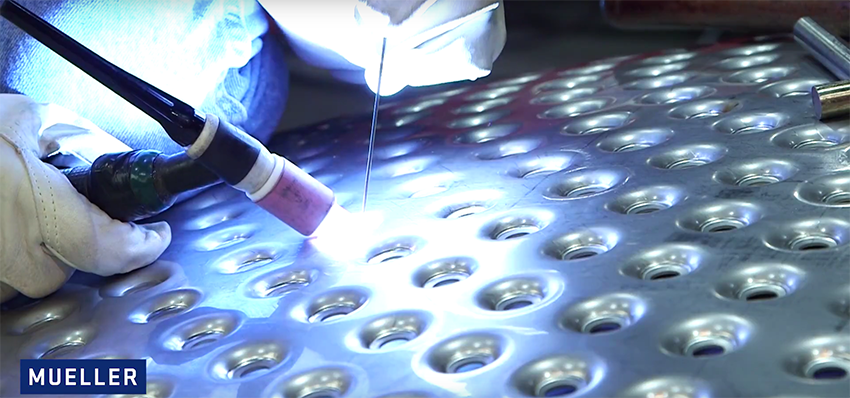
With multiple dimple sheets that need to be tacked and fit to the same tank head it can be difficult to get them to line up properly. Today, Jeremy is going to show you how to fit and trim dimple coil to a tank head.
There are a couple challenges you might face when trimming and fitting dimple sheets to a tank head.
- Challenge 1: The dimple doesn't lay down flat against the tank head.
- Challenge 2: It can be difficult to trim the dimple sheets to fit together correctly.
Here's how to overcome these two challenges:
Jeremy Krempges is a Craftsman Welder here at the Paul Mueller Company.
Step 1:
Make marks on your tank head so that you know where each dimple sheet should go.
Step 2:
Place the first dimple sheet down on the tank head and tack the top of the sheet to the tank head. Make sure that both the top and bottom of the dimple sheet are lined up to the marks you made earlier. Then add a tack to the bottom since it is already lined up there.
Step 3:
Tack the dimple to the head in the middle of the sheet and work your way out from there to the bottom and the top. If you have a small gap you can dolly it down after tacking.
Step 4:
Work your way down from the center out to the sides of the panel until it is all flat against the head.
Step 5:
Line up your second piece on the quarter mark and tack it down in the center, but do not tack it out to the edge until after you've made the trim. Make sure that the spots between the sections will not exceed the designated spot spacing.
Step 6:
Transfer the mark on the head to the dimple sheet at both ends and then use a straight edge to connect the line.
Step 7:
To avoid gouging the head while trimming, you can slide a piece of scrap material between the head and the dimple underneath the line on the dimple. Using a cutoff wheel, trim along the line and cut through both pieces. Deburr the edges to prepare for welding.
Step 8:
After you've made your trim you are ready to tack down your second piece of dimple down against the head all the way to the edges.
That's how you fit and trim dimple to a tank head. Repeat these steps with the other dimple sections and then you'll be ready to weld after that.
If you have any questions, please call us here at the Paul Mueller Company.